
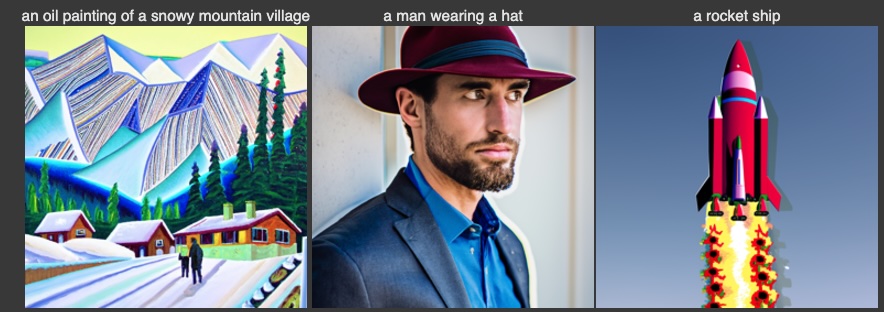
Using the pretrained diffusion model, I sampled using 3 different text prompts at 2 different numbers of inference steps. I used a random seed of 180.
| num_inference_steps=20 |
|---|

|
| num_inference_steps=100 |

|
Increasing the number of inference steps increases computation time, but it seems to generate more detailed images.
To generate a noisy image, I sample from a Gaussian distribution to add noise and scale the image. Each image depends on the time point and the noise coefficients.
| t=0 (clean image) | t=250 | t=500 | t=750 |
|---|---|---|---|

|

|

|

|
Here, I used the classical denoising method of using Gaussian blur filtering. There are still considerable artifacts in the blurred images, especially at higher noise levels.
| t=250 | t=500 | t=750 |
|---|---|---|

|

|

|

|

|

|
Here, I used a pretrained diffusion model to denoise images in one step. This works much better than classical denoising, but higher levels of noise still pose a challenge for this.
| t=250 | t=500 | t=750 |
|---|---|---|

|

|

|

|

|

|
Here, I iteratively denoised using the pretrained model over strided timesteps instead of trying to denoise in one step. This is by far the best result so far.

t = 90
|

t = 240
|

t = 390
|

t = 540
|

t = 690
|

original
|

iteratively denoised
|

one step denoised
|

gaussian blurred
|
By using pure noise as an input to our iterative denoising function, we can generate new images from scratch. Using "a high quality image" as our prompt, here are 5 sampled images.

|

|

|

|

|
We then use Classifier-Free Guidance (CFG) to improve image quality, at the expense of image diversity. This involves running the denoiser twice for each time step, generating a conditional and unconditional noise estimate. The final noise estimate for each time step combines both of these estimates using a hyperparameter scale.

|

|

|

|

|
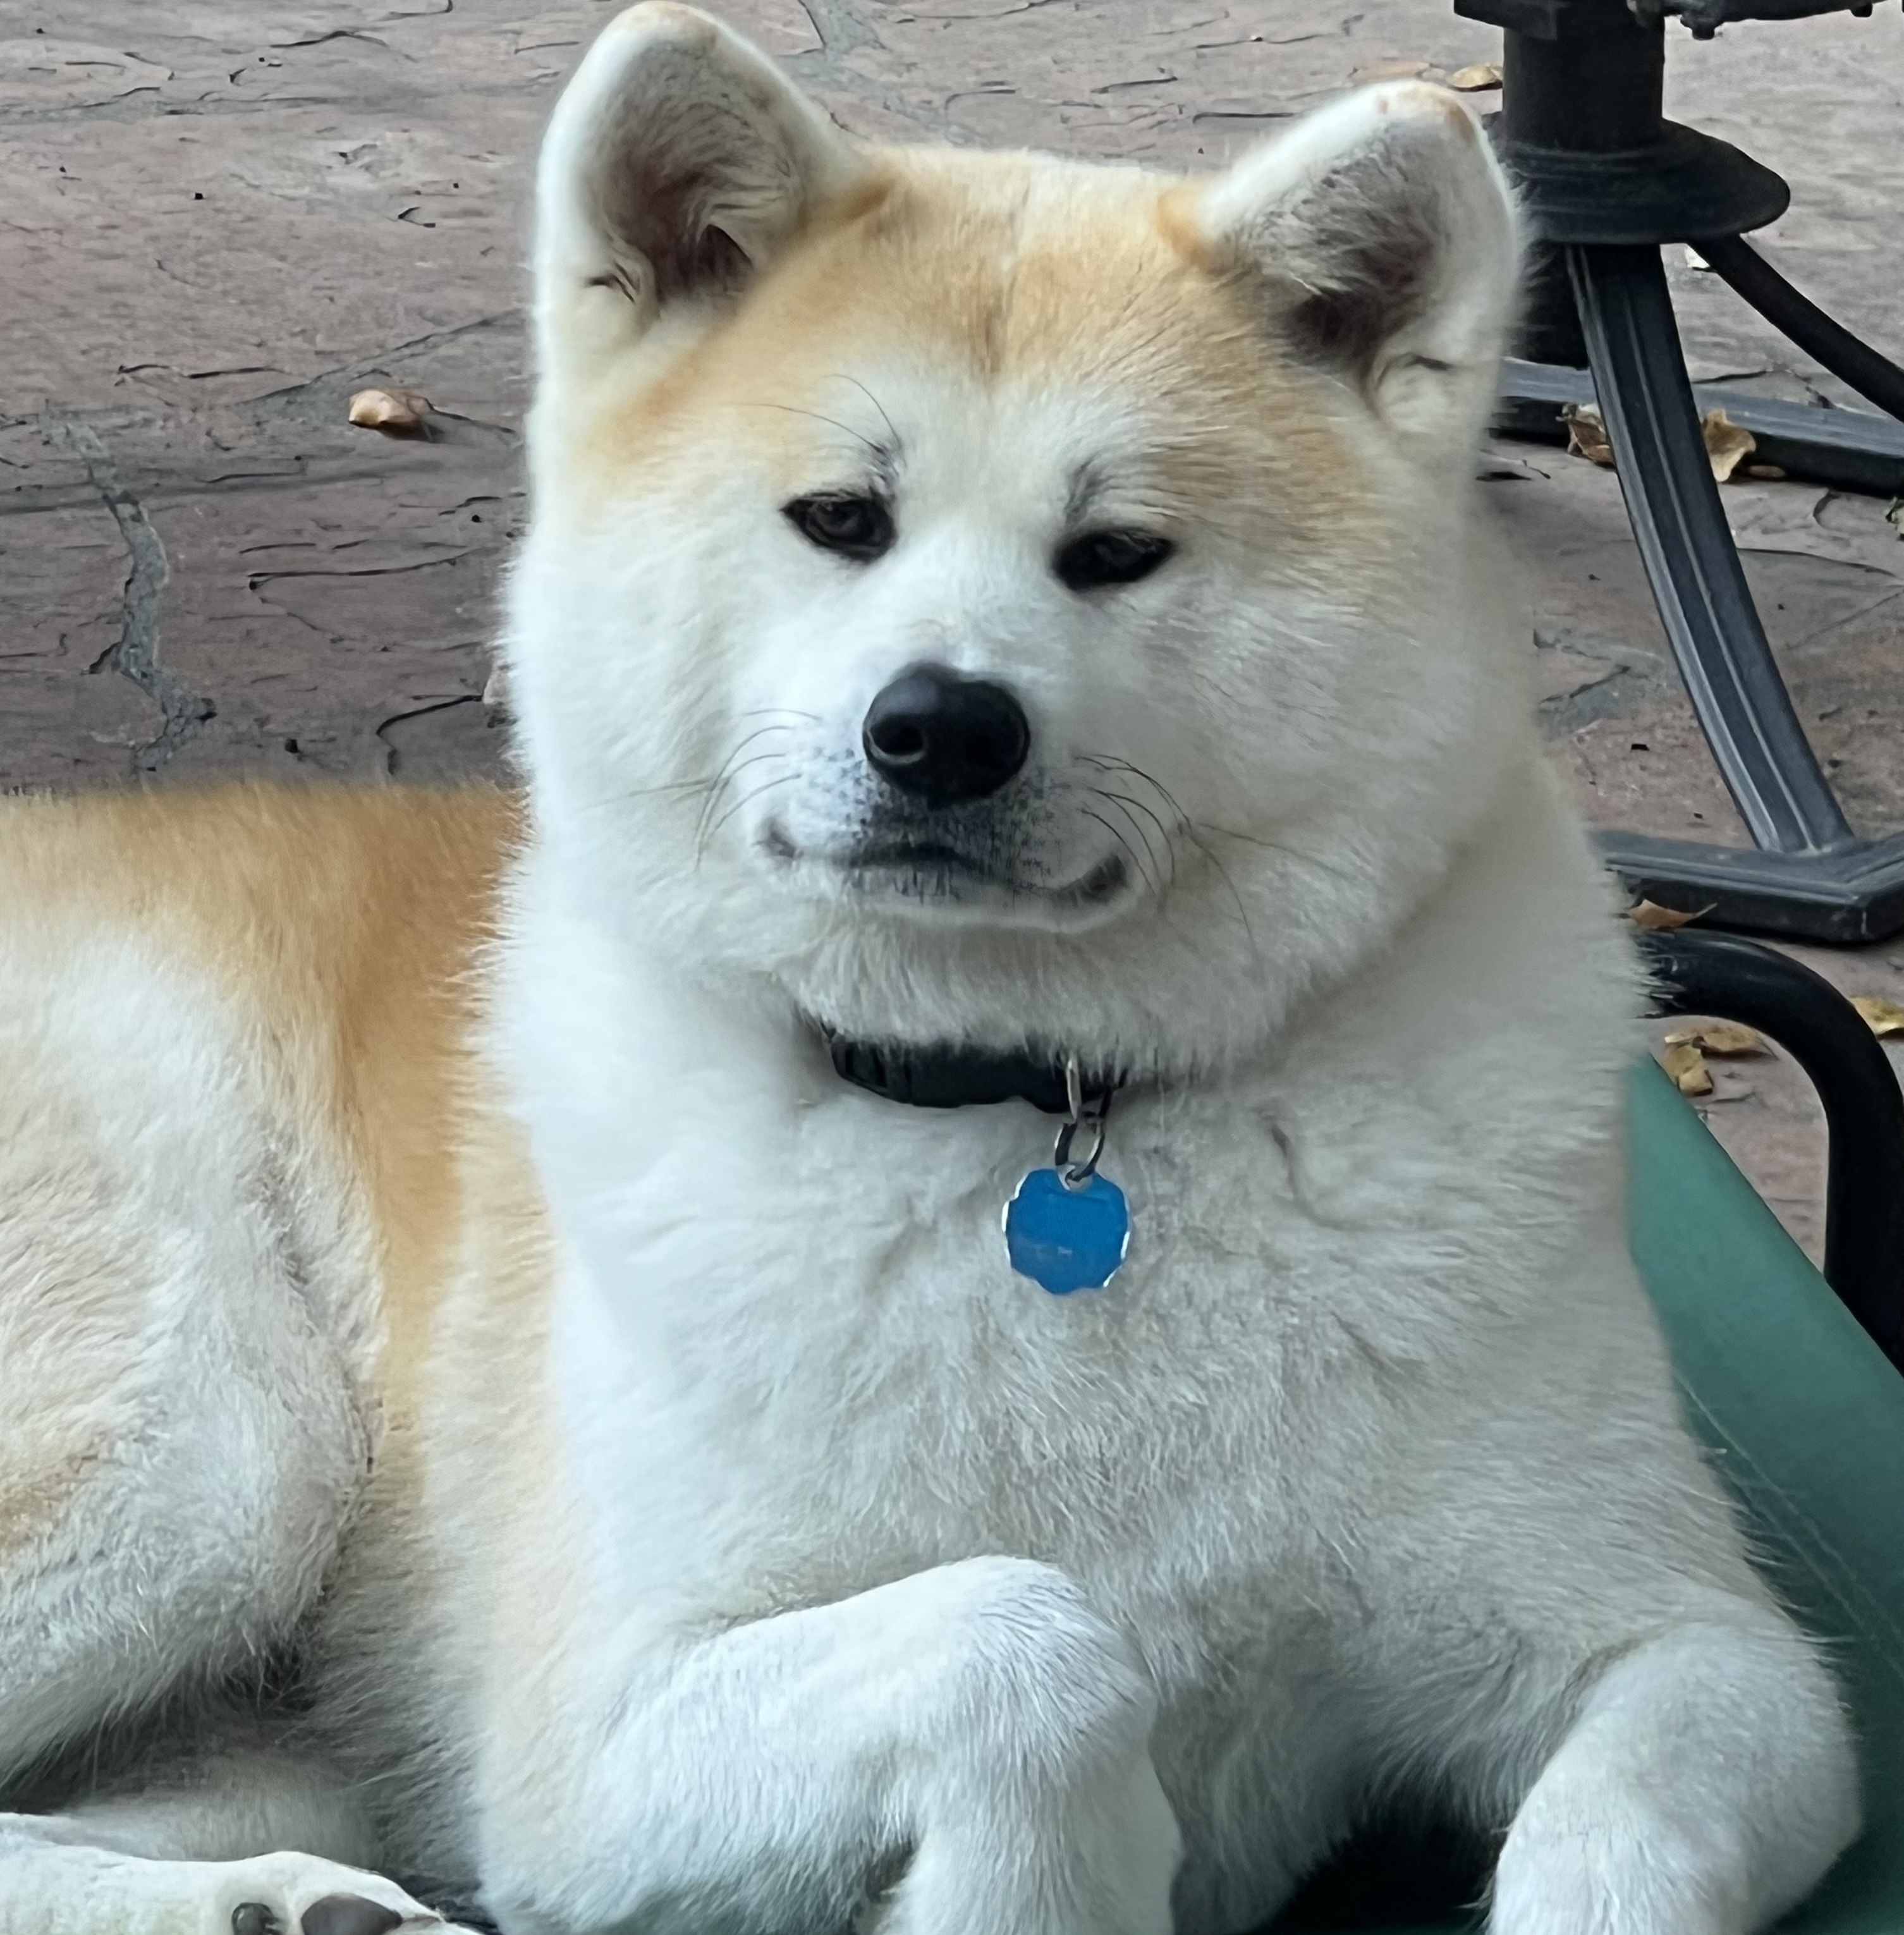
Here, I follow the SDEdit algorithm to generate images that are progressively more similar to a starting image. This involves taking an original test image, noising it, and forcing it back onto the image manifold unconditionally. This worked better for the Campanile and dog images than the cat image. I suspect this is because there are very few images in the training set that are similar to the cat image. Interestingly, using i_start=20 for the cat image changed the cat into a pair of shoes, which makes sense since she's on a shoe rack!

original capanile photo
|
original dog photo
|

original cat photo
|

|

|

|
Here I used the same process as the previous section, but using hand-drawn and other nonrealistic images to project them to the natural image manifold.

Original Gojo image
|

|

Original buff guy drawing
|

|

Original desert drawing
|

|
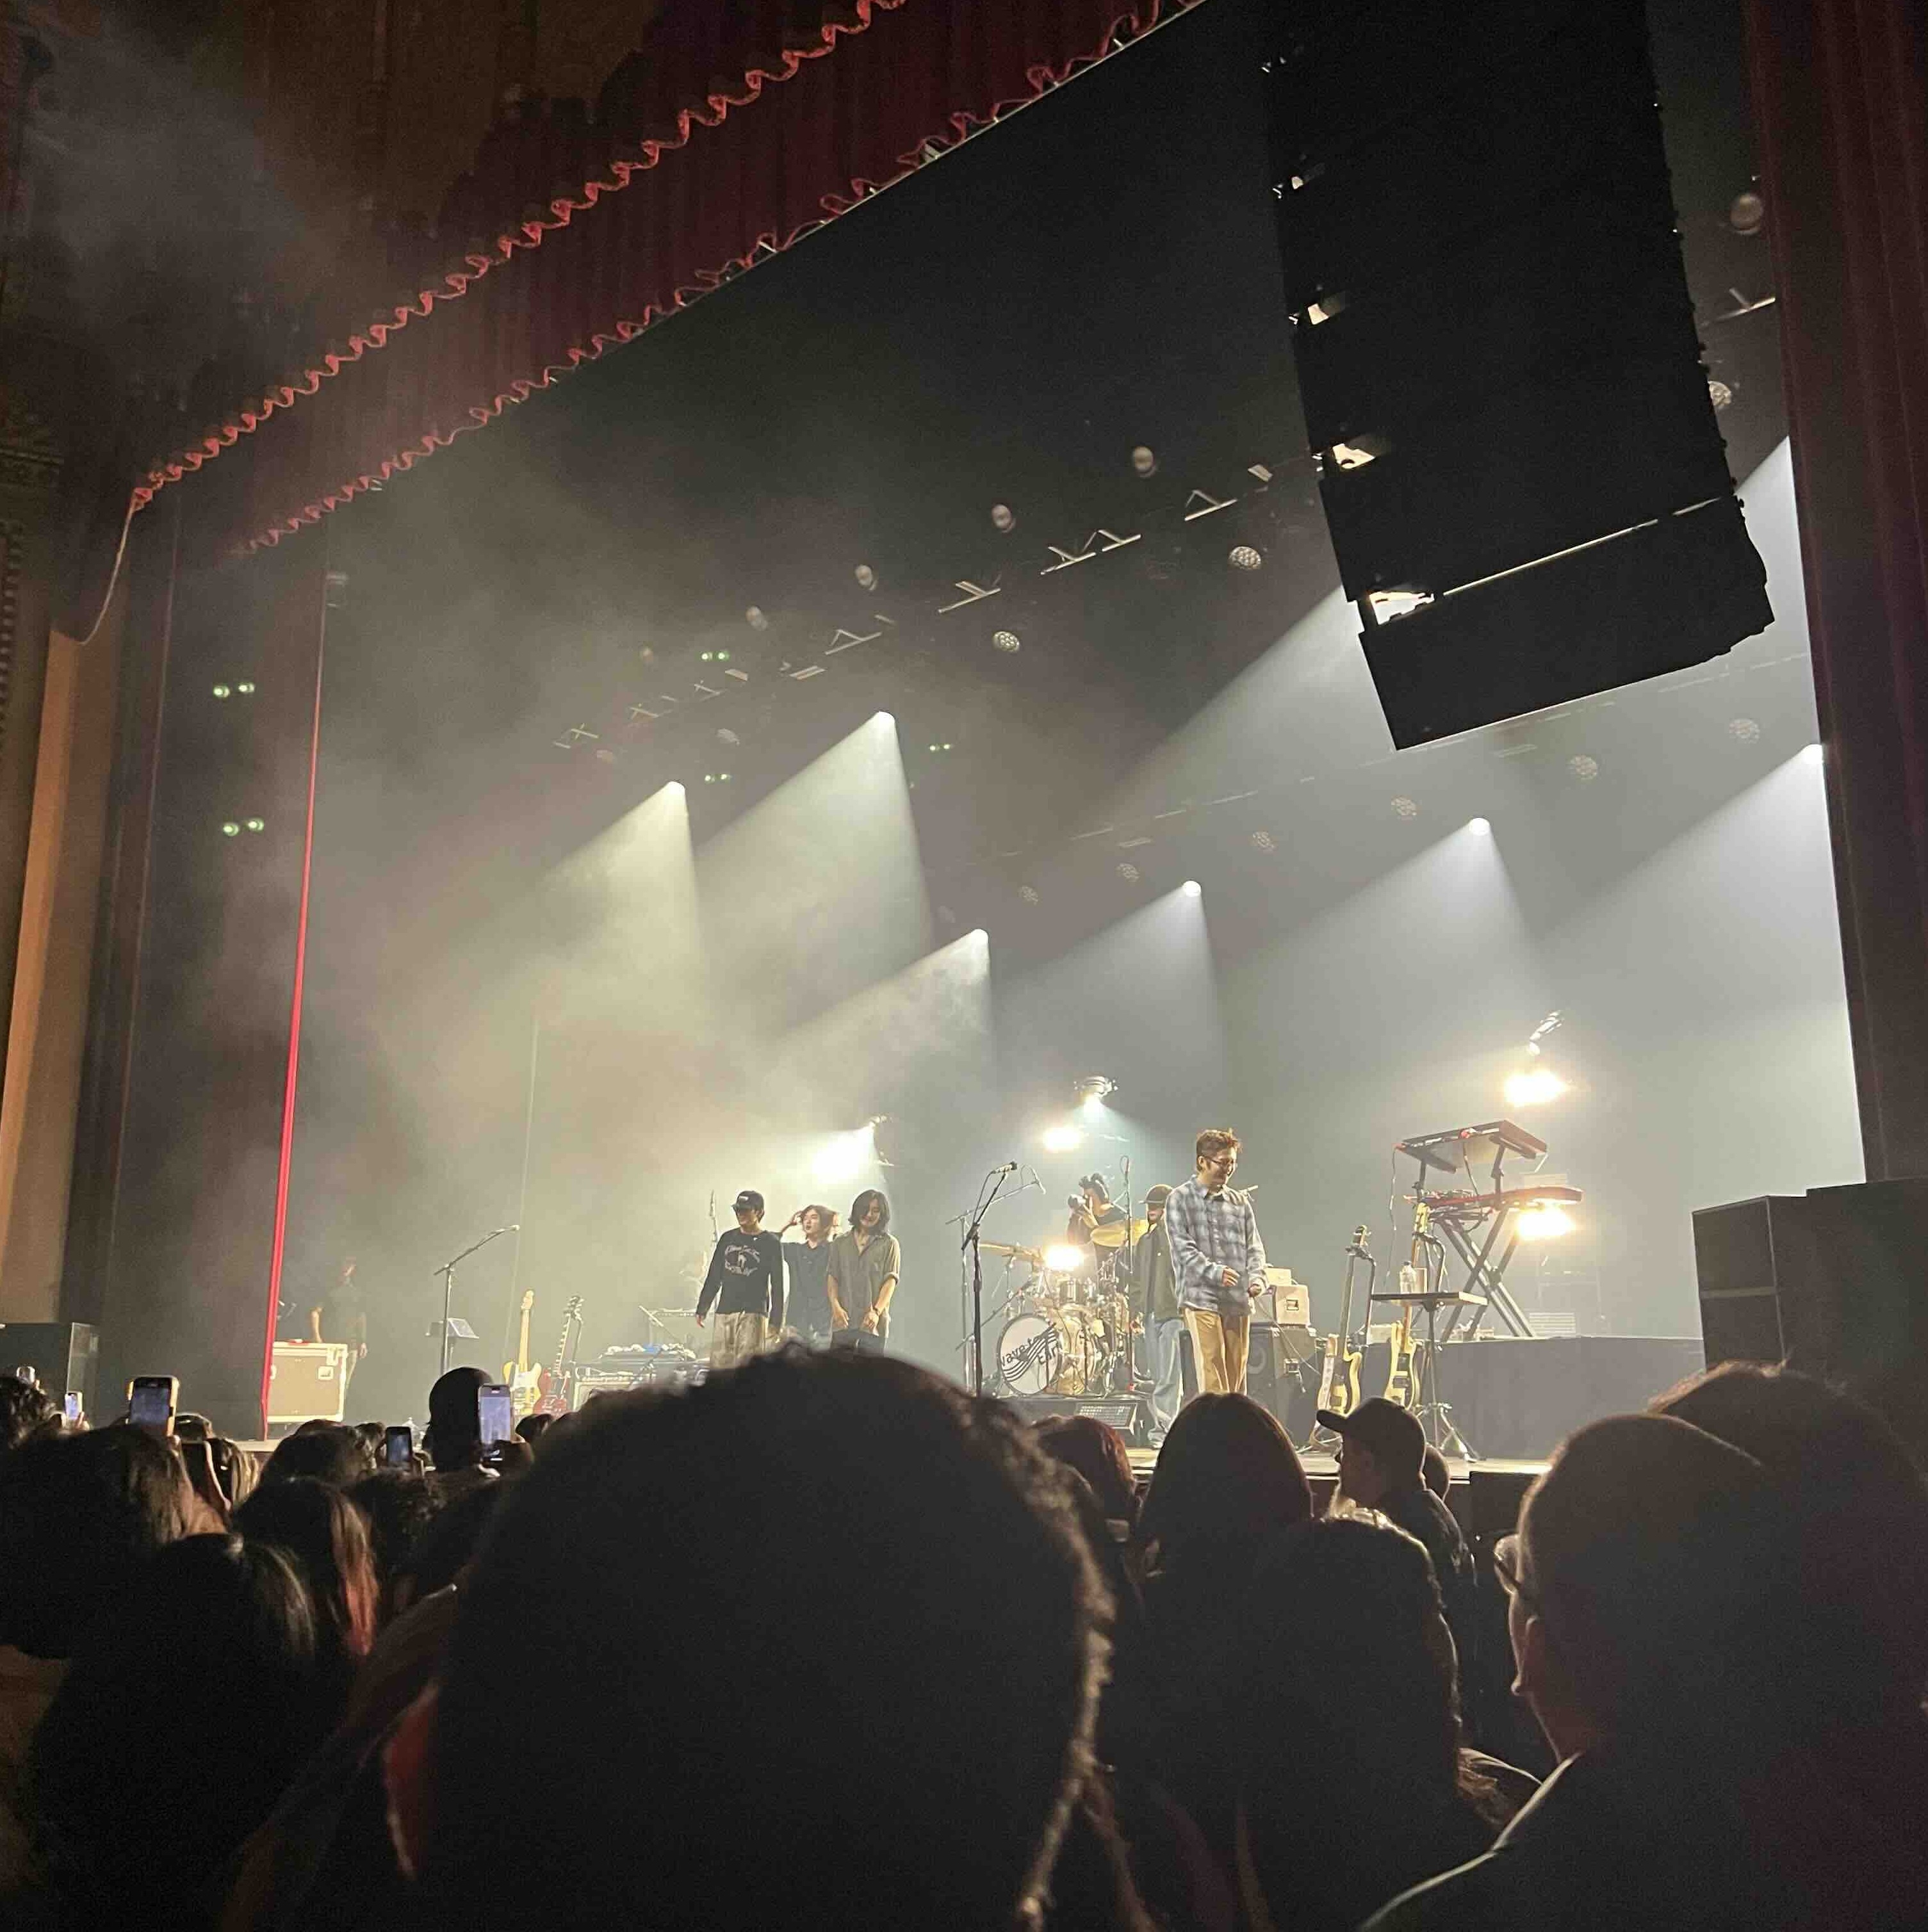
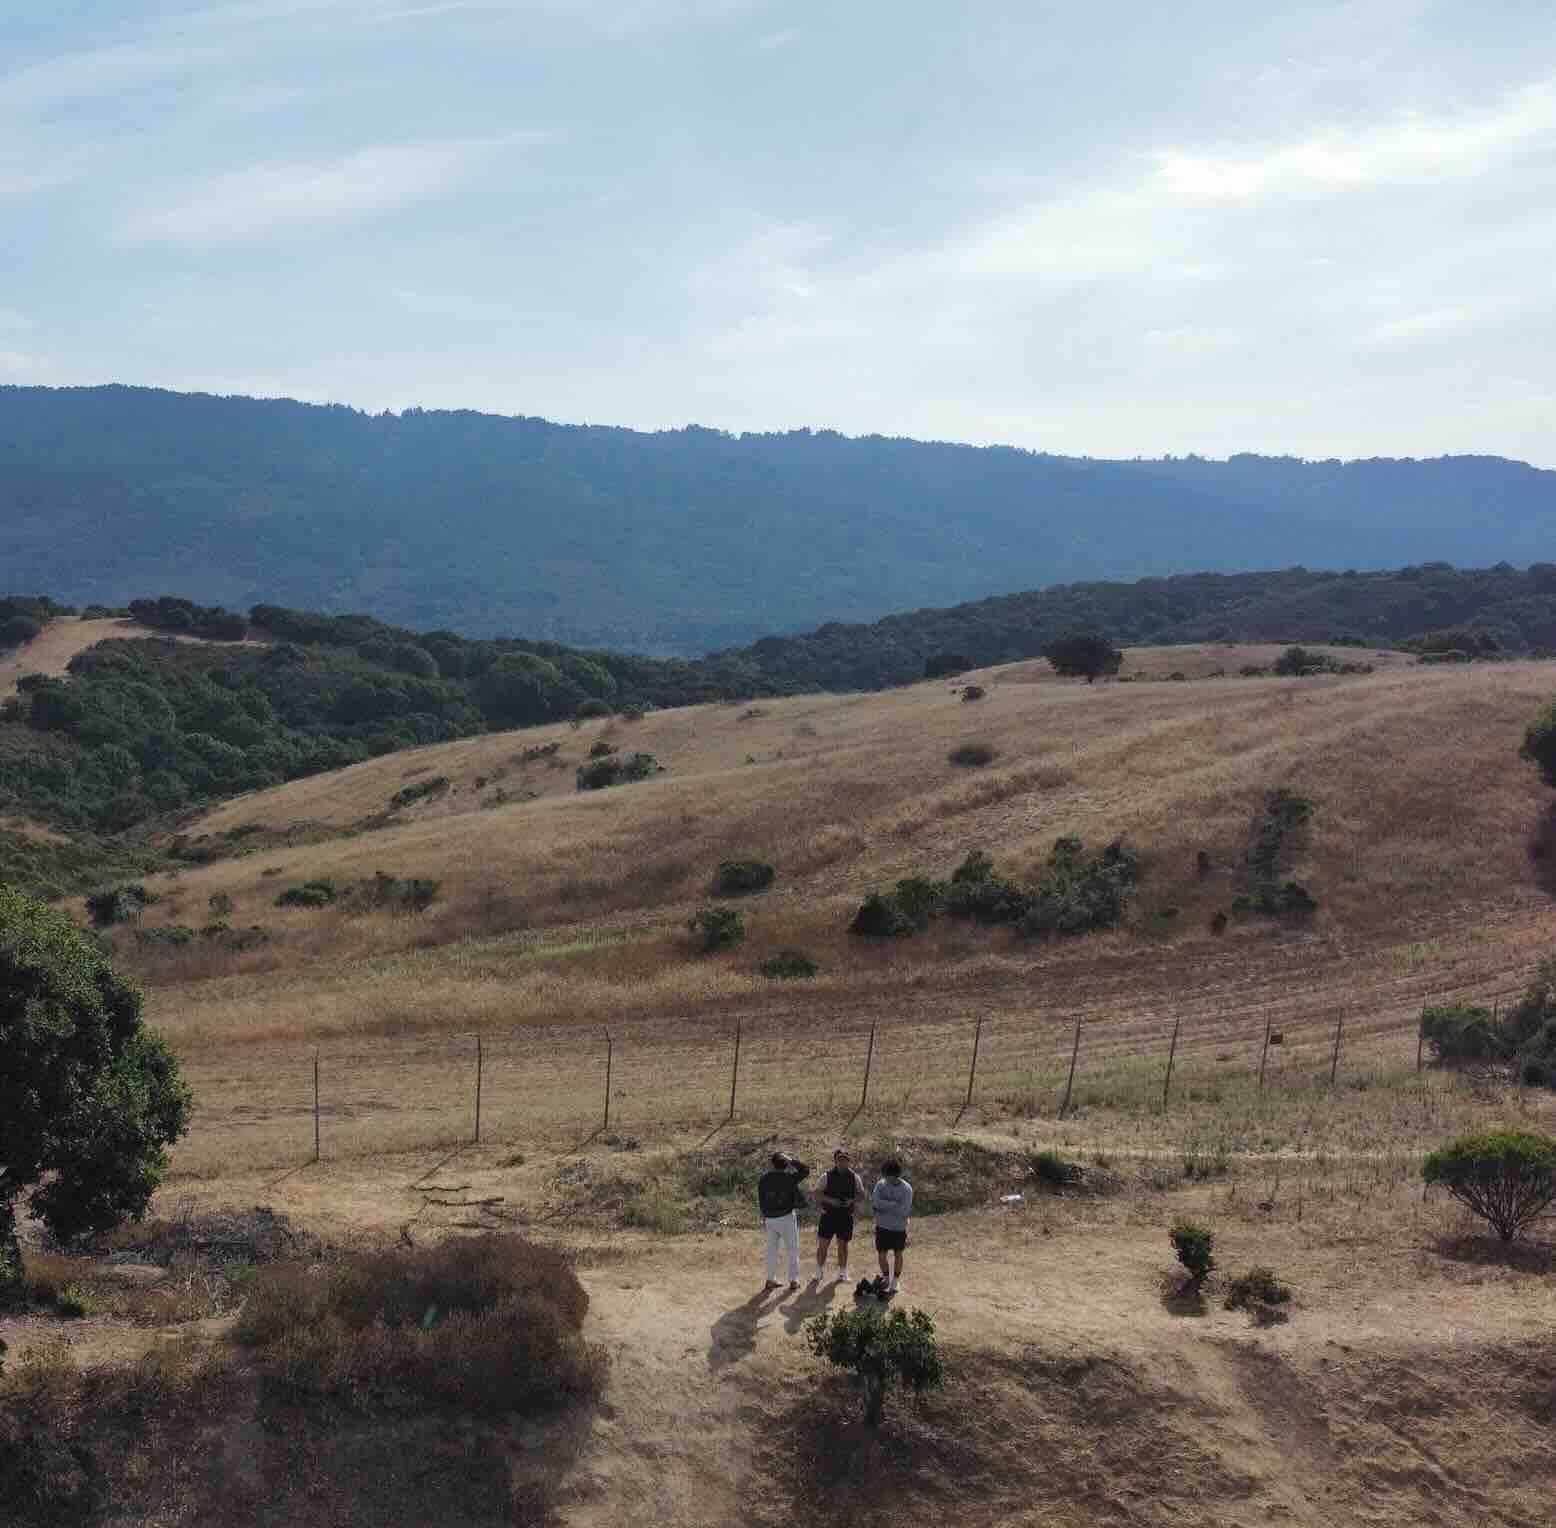
I then followed the RePaint paper to implemenet inpainting. At every step in the denoising loop, we force the image pixels to match the original based on the given mask. I used this to add a new top to the Capanile, remove the audience from a concert picture, and remove a fence from a field picture.
| Original | Mask | Inpainted Image |
|---|---|---|

|

|

|
|

|

|
|

|

|
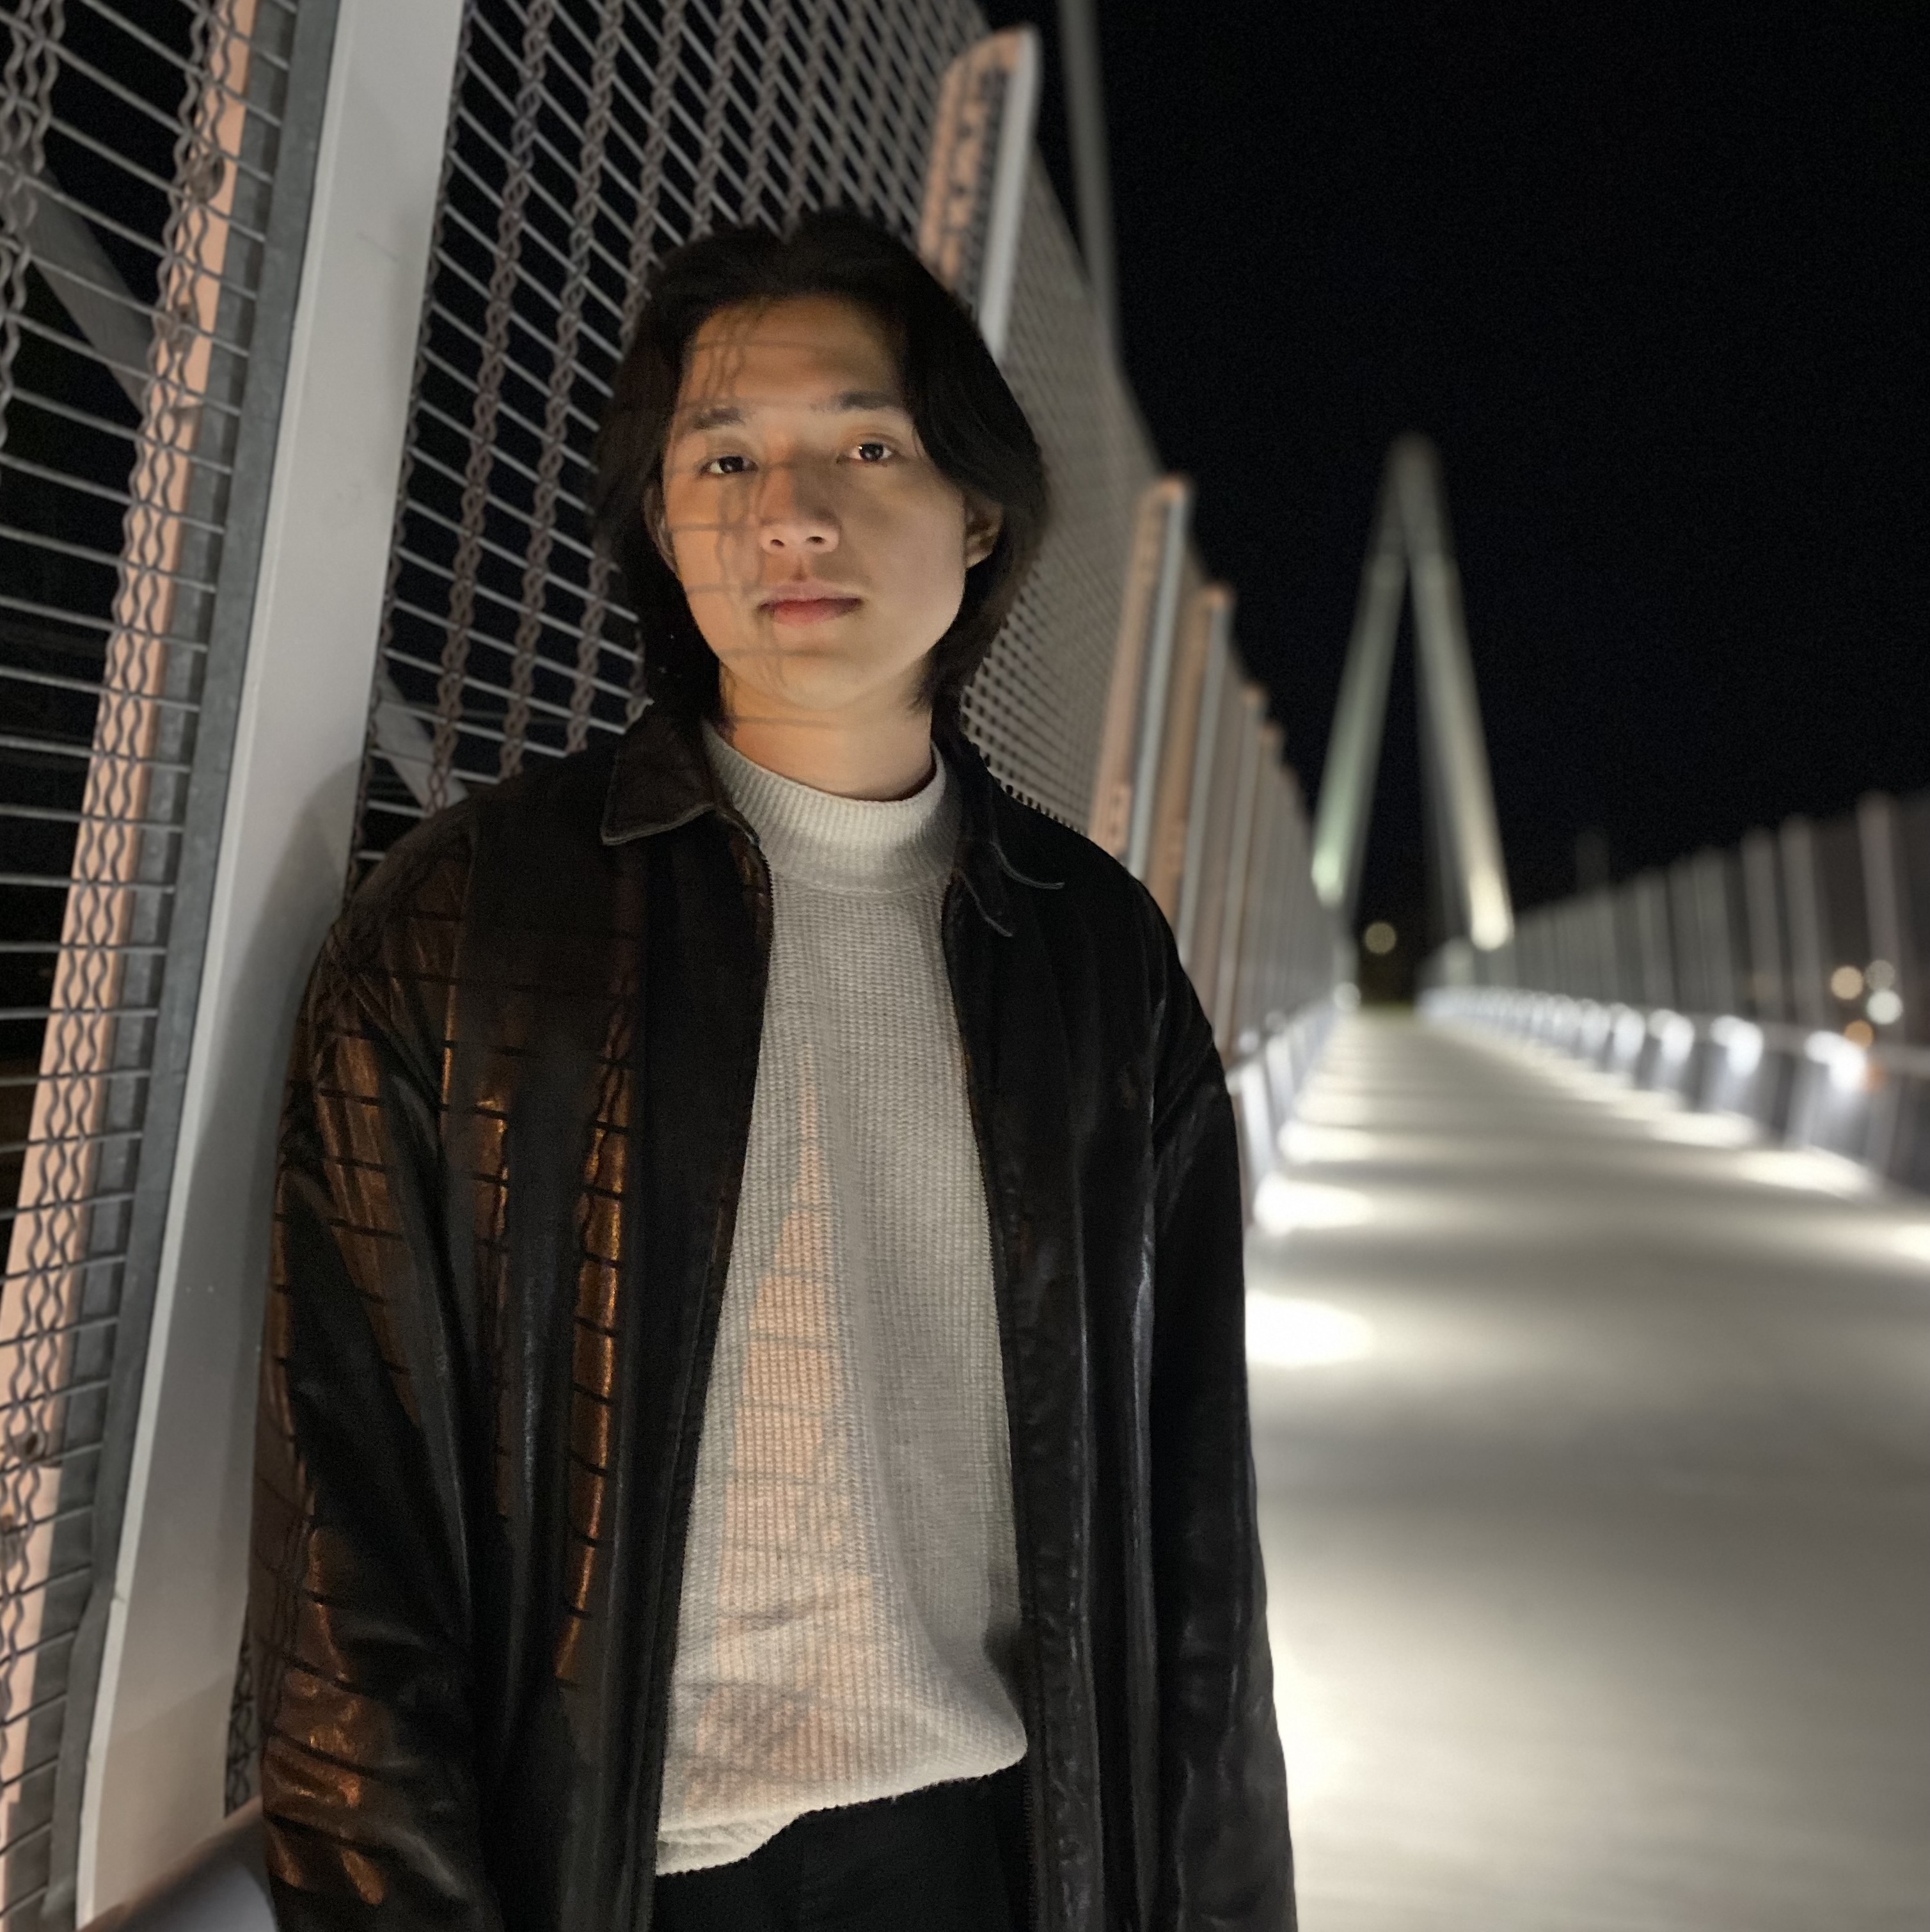
I then perform image-to-image translation again but with a text prompt.

Prompt: "a rocket ship"
|

original image
|

Prompt: "a photo of a dog"
|

original image
|

Prompt: "a photo of a hipster barista"
|
original image
|
Here, I implement visual anagrams to create optical illusions. I use 2 prompts to generate images that look like one of the prompts in one orientation, and the other prompt in another orientation.

an oil painting of people around a campfire
|

an oil painting of an old man
|

a pencil
|

a rocket
|

dog
|

hipster barista
|
Here, I implement another form of optical illusions in hybrid images. Essentially, the low frequencies of the image come from one prompt, and the high frequencies come from another prompt. This involves using low-pass filters on one noise estimate, and high-pass filters on the other noise estimate.
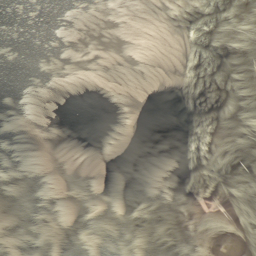
close: waterfalls
far: skull
|
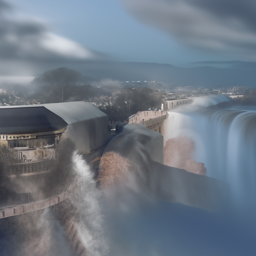
close: waterfalls
far: coast
|
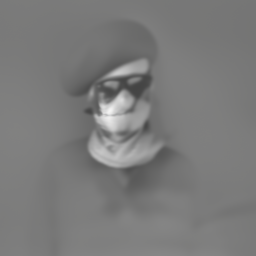
close: dog
far: man
|
In the next section, I train a diffusion model from scratch using the MNIST dataset.
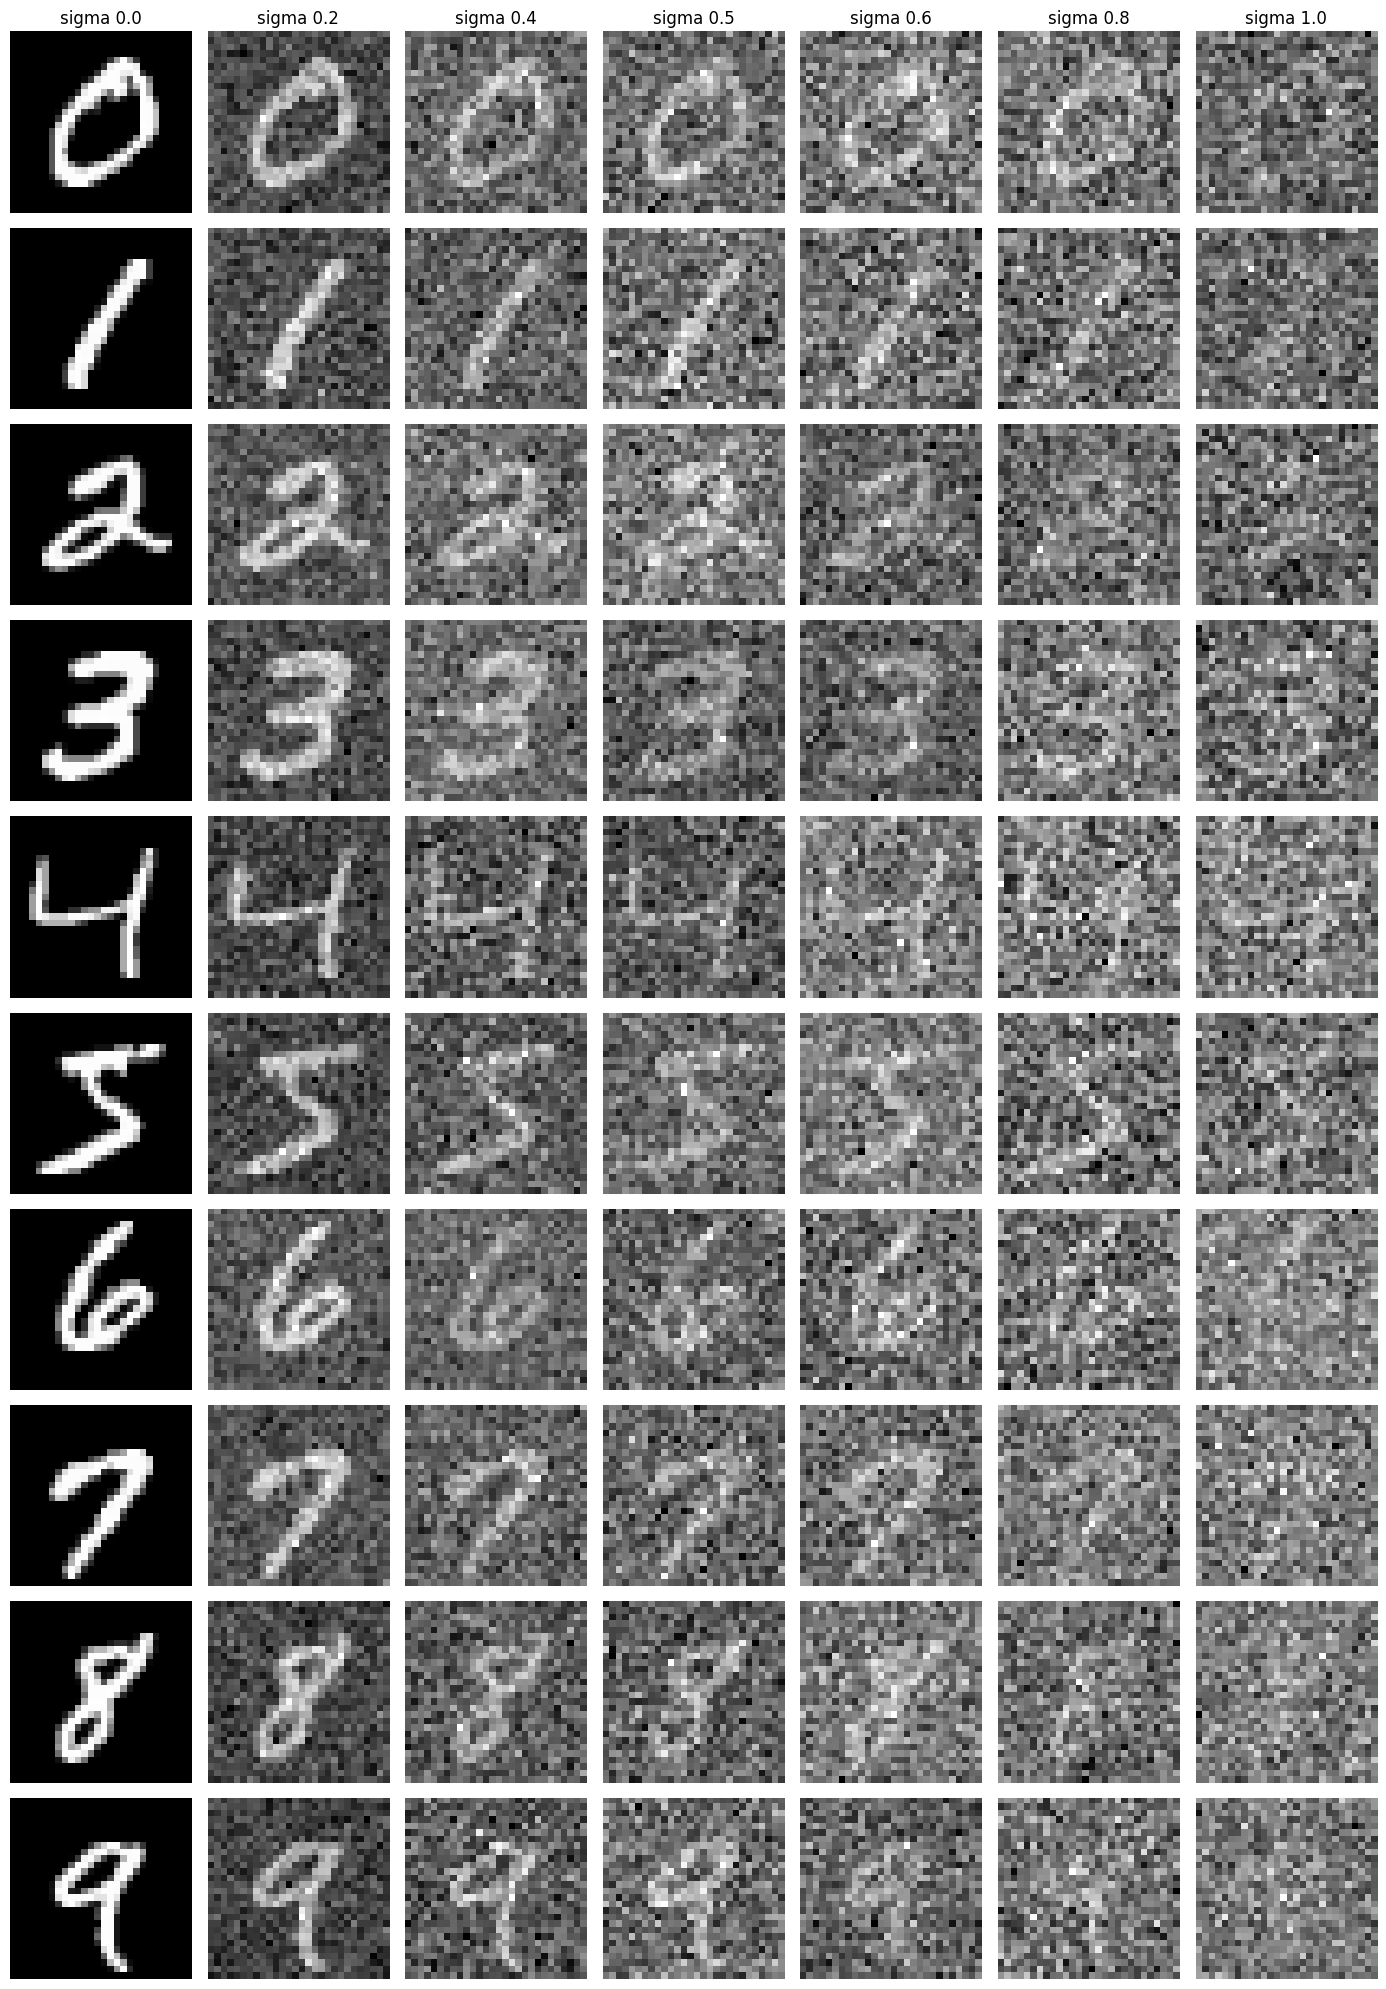
First, I need to write a forward function to add noise to images. Here are the noised images at different levels:
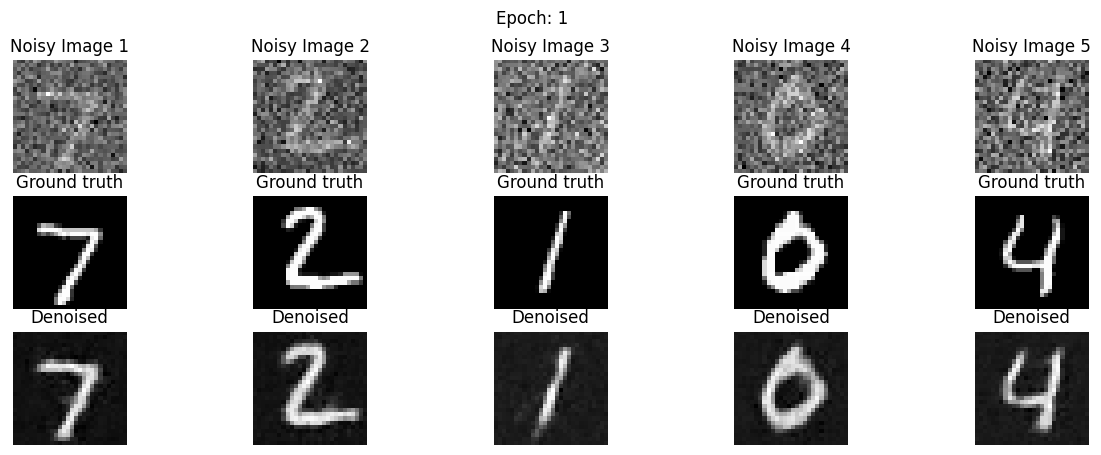
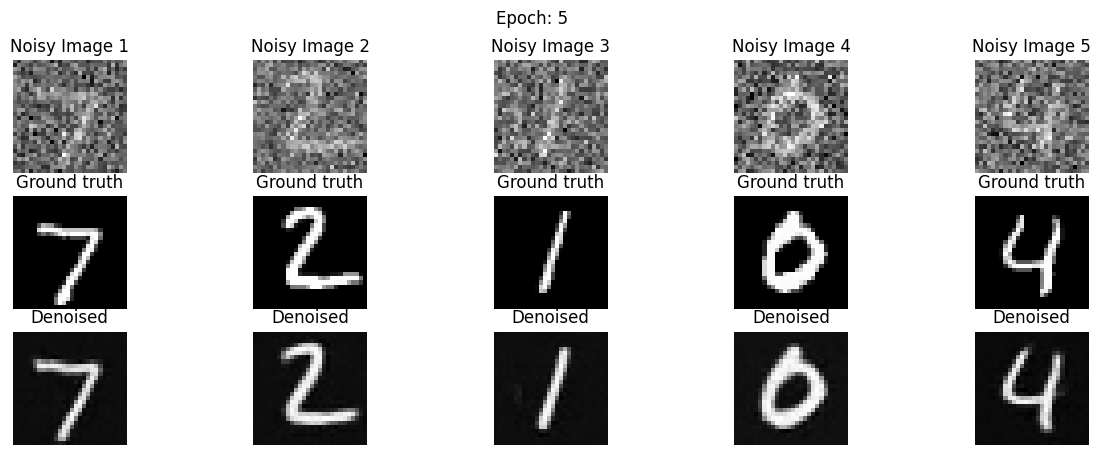
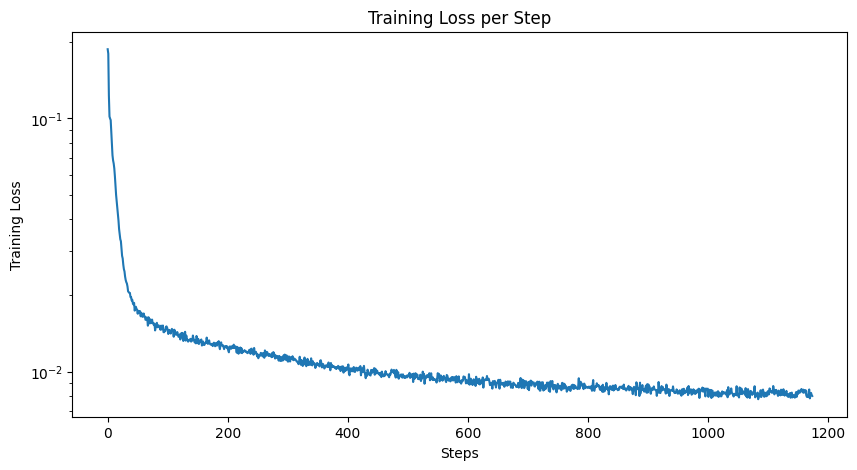
Then, I need to train a UNET for single-step denoising. I followed the given structure and built the neural network in PyTorch. This network denoises images at noise level sigma=0.5. After constructing each layer, I trained using an L2 loss and an Adam optimizer with a learning rate of 1e-4. I display results after epochs 1 and 5.
|
|
Although the model was trained for images noised with sigma=0.5, I can still test to see how well it does with other levels of noise:

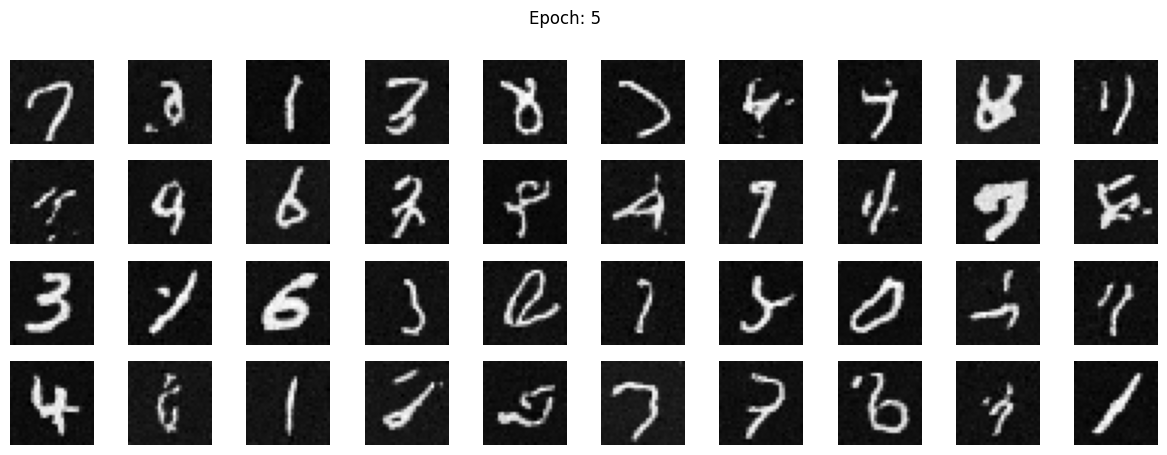
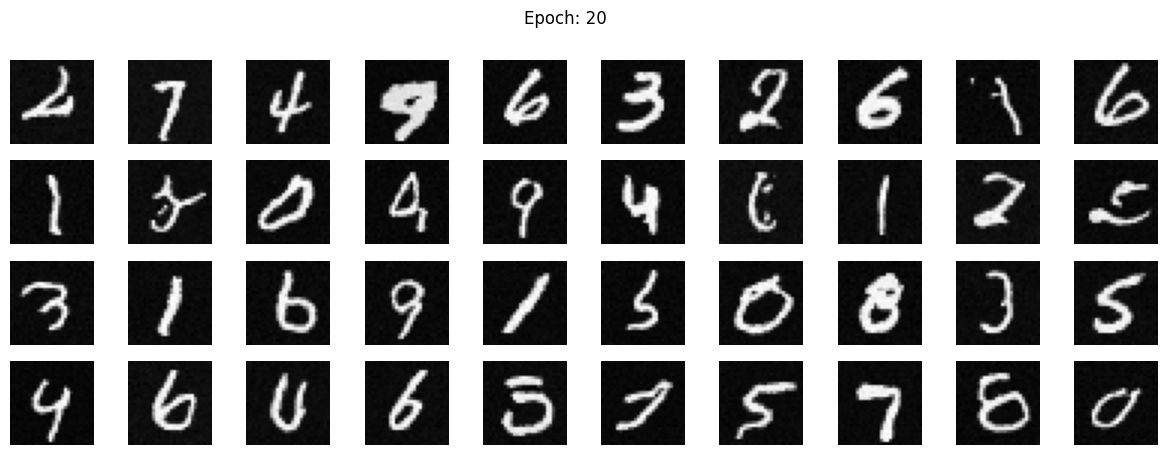
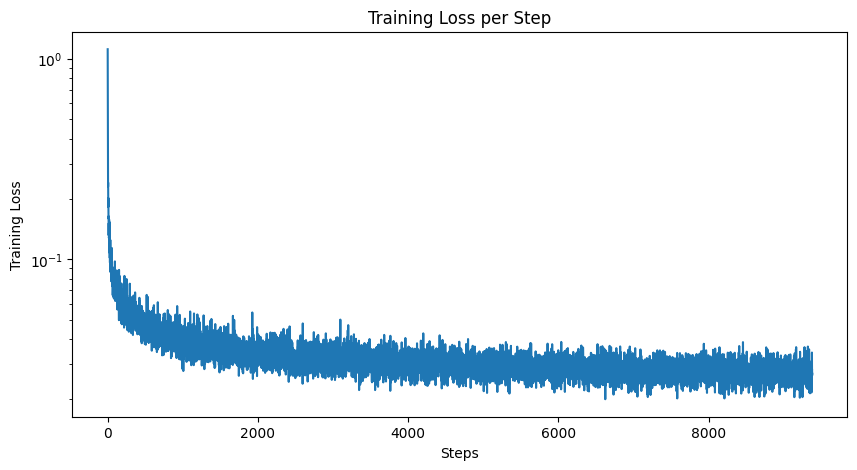
To make the model account for varying levels of noise, I need to add time-conditioning to it. This invovles adding 2 more fully-connected blocks to the model. Training also becomes more complex, as we also need to account for random times. I trained for 20 epochs using a variable learning rate.
|
|
|
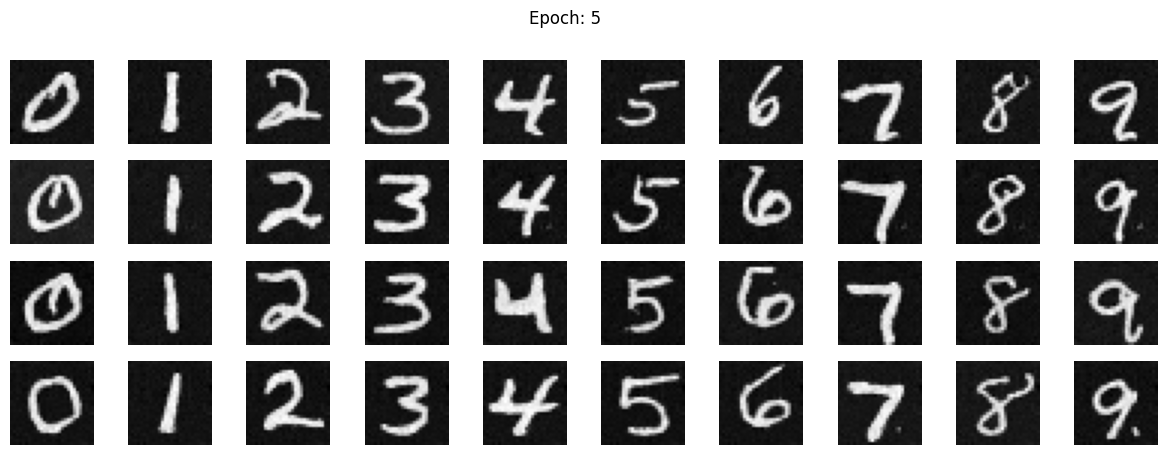
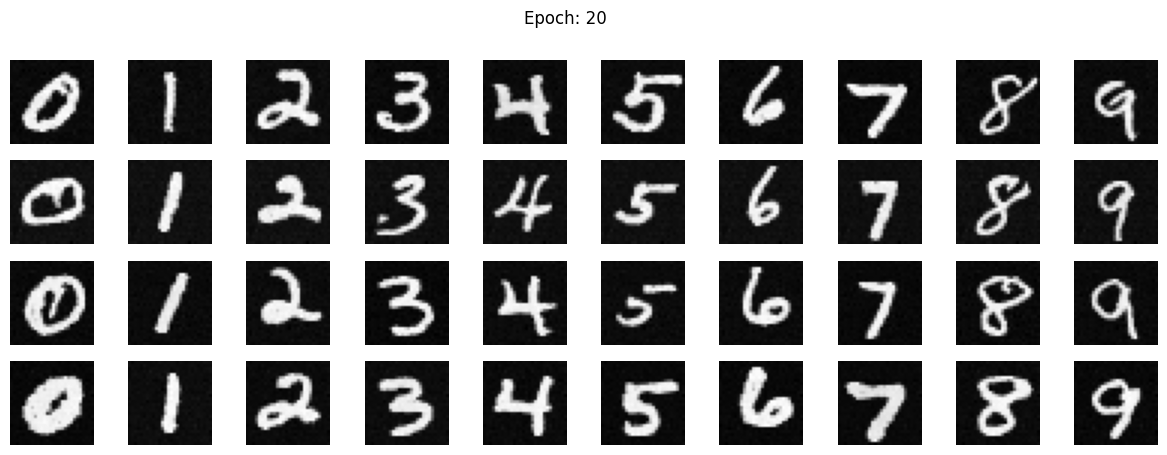
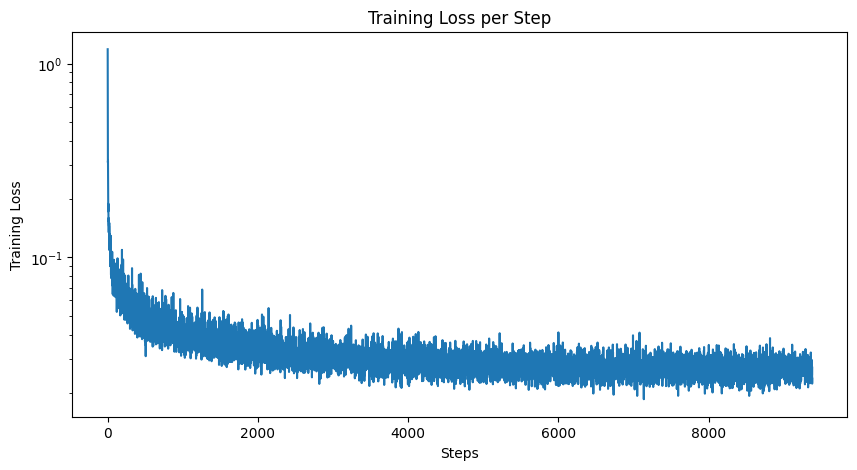
Looking at the results of time-conditioned image generation, there are still some fake digits in the sampled results. Adding class conditioning fixes this issue. To implement class-conditioning, I add two more fully-connected blocks to the model based on a one-hot encoded vector representing the digit class (0-9). I also implement dropout to ensure the UNet will works unconditionally. This allows me to use CFG to generate much cleaner results:
|
|
|